Are you looking for desserts for a coffee shop?
You don’t know which is the best pastry and desserts to sell in a coffee shop?
In this article, I will tell you about the best desserts that you can add to your coffee shop menu.
These are the desserts:
- Tiramisu.
- Cheesecakes.
- Cinnamon rolls.
- Cakes.
- Donuts
In addition, I will give you the most basic and profitable recipes for each one, and some tips on how to implement them in your coffee shop successfully.
This article will help you improve your coffee shop menu, improve your restaurant's dessert menu, and more.
These desserts are also perfect to sell in new coffee shops or to be sold by independent entrepreneurs.
Let's get started!
Why do you need to sell desserts in your coffee shop?

Coffee shops mainly sell coffee, a globally consumed beverage that’s delicious, bitter, and usually consumed hot and with sugar — although it also tastes good unsweetened.
You can also get different types of hot or cold tea and infusions at a coffee shop.
And, you’ll find the perfect companions for those drinks: sweet snacks and coffee shop desserts.
Why are they important?
Typically, coffee shops are visited by people who are looking for a caffeine fix to start their day, coffee to keep up their energy in the afternoons, and more. Not to mention the growing brunch trend.
But they are also looking for breakfast or a snack, so a delicious dessert fits perfectly — especially with good coffee or tea.
Choosing the perfect coffee shop dessert to add to your menu is vital to satisfying your customers!
How to choose desserts for a coffee shop?
To choose the most delicious and suitable desserts for your coffee shop, you must take into account 2 very important aspects.
- Your drink menu and the desserts that go with them.
- Your production capacity and equipment.
Below I discuss these aspects in depth.
Adapt the desserts to the drinks of your coffee shop’s menu
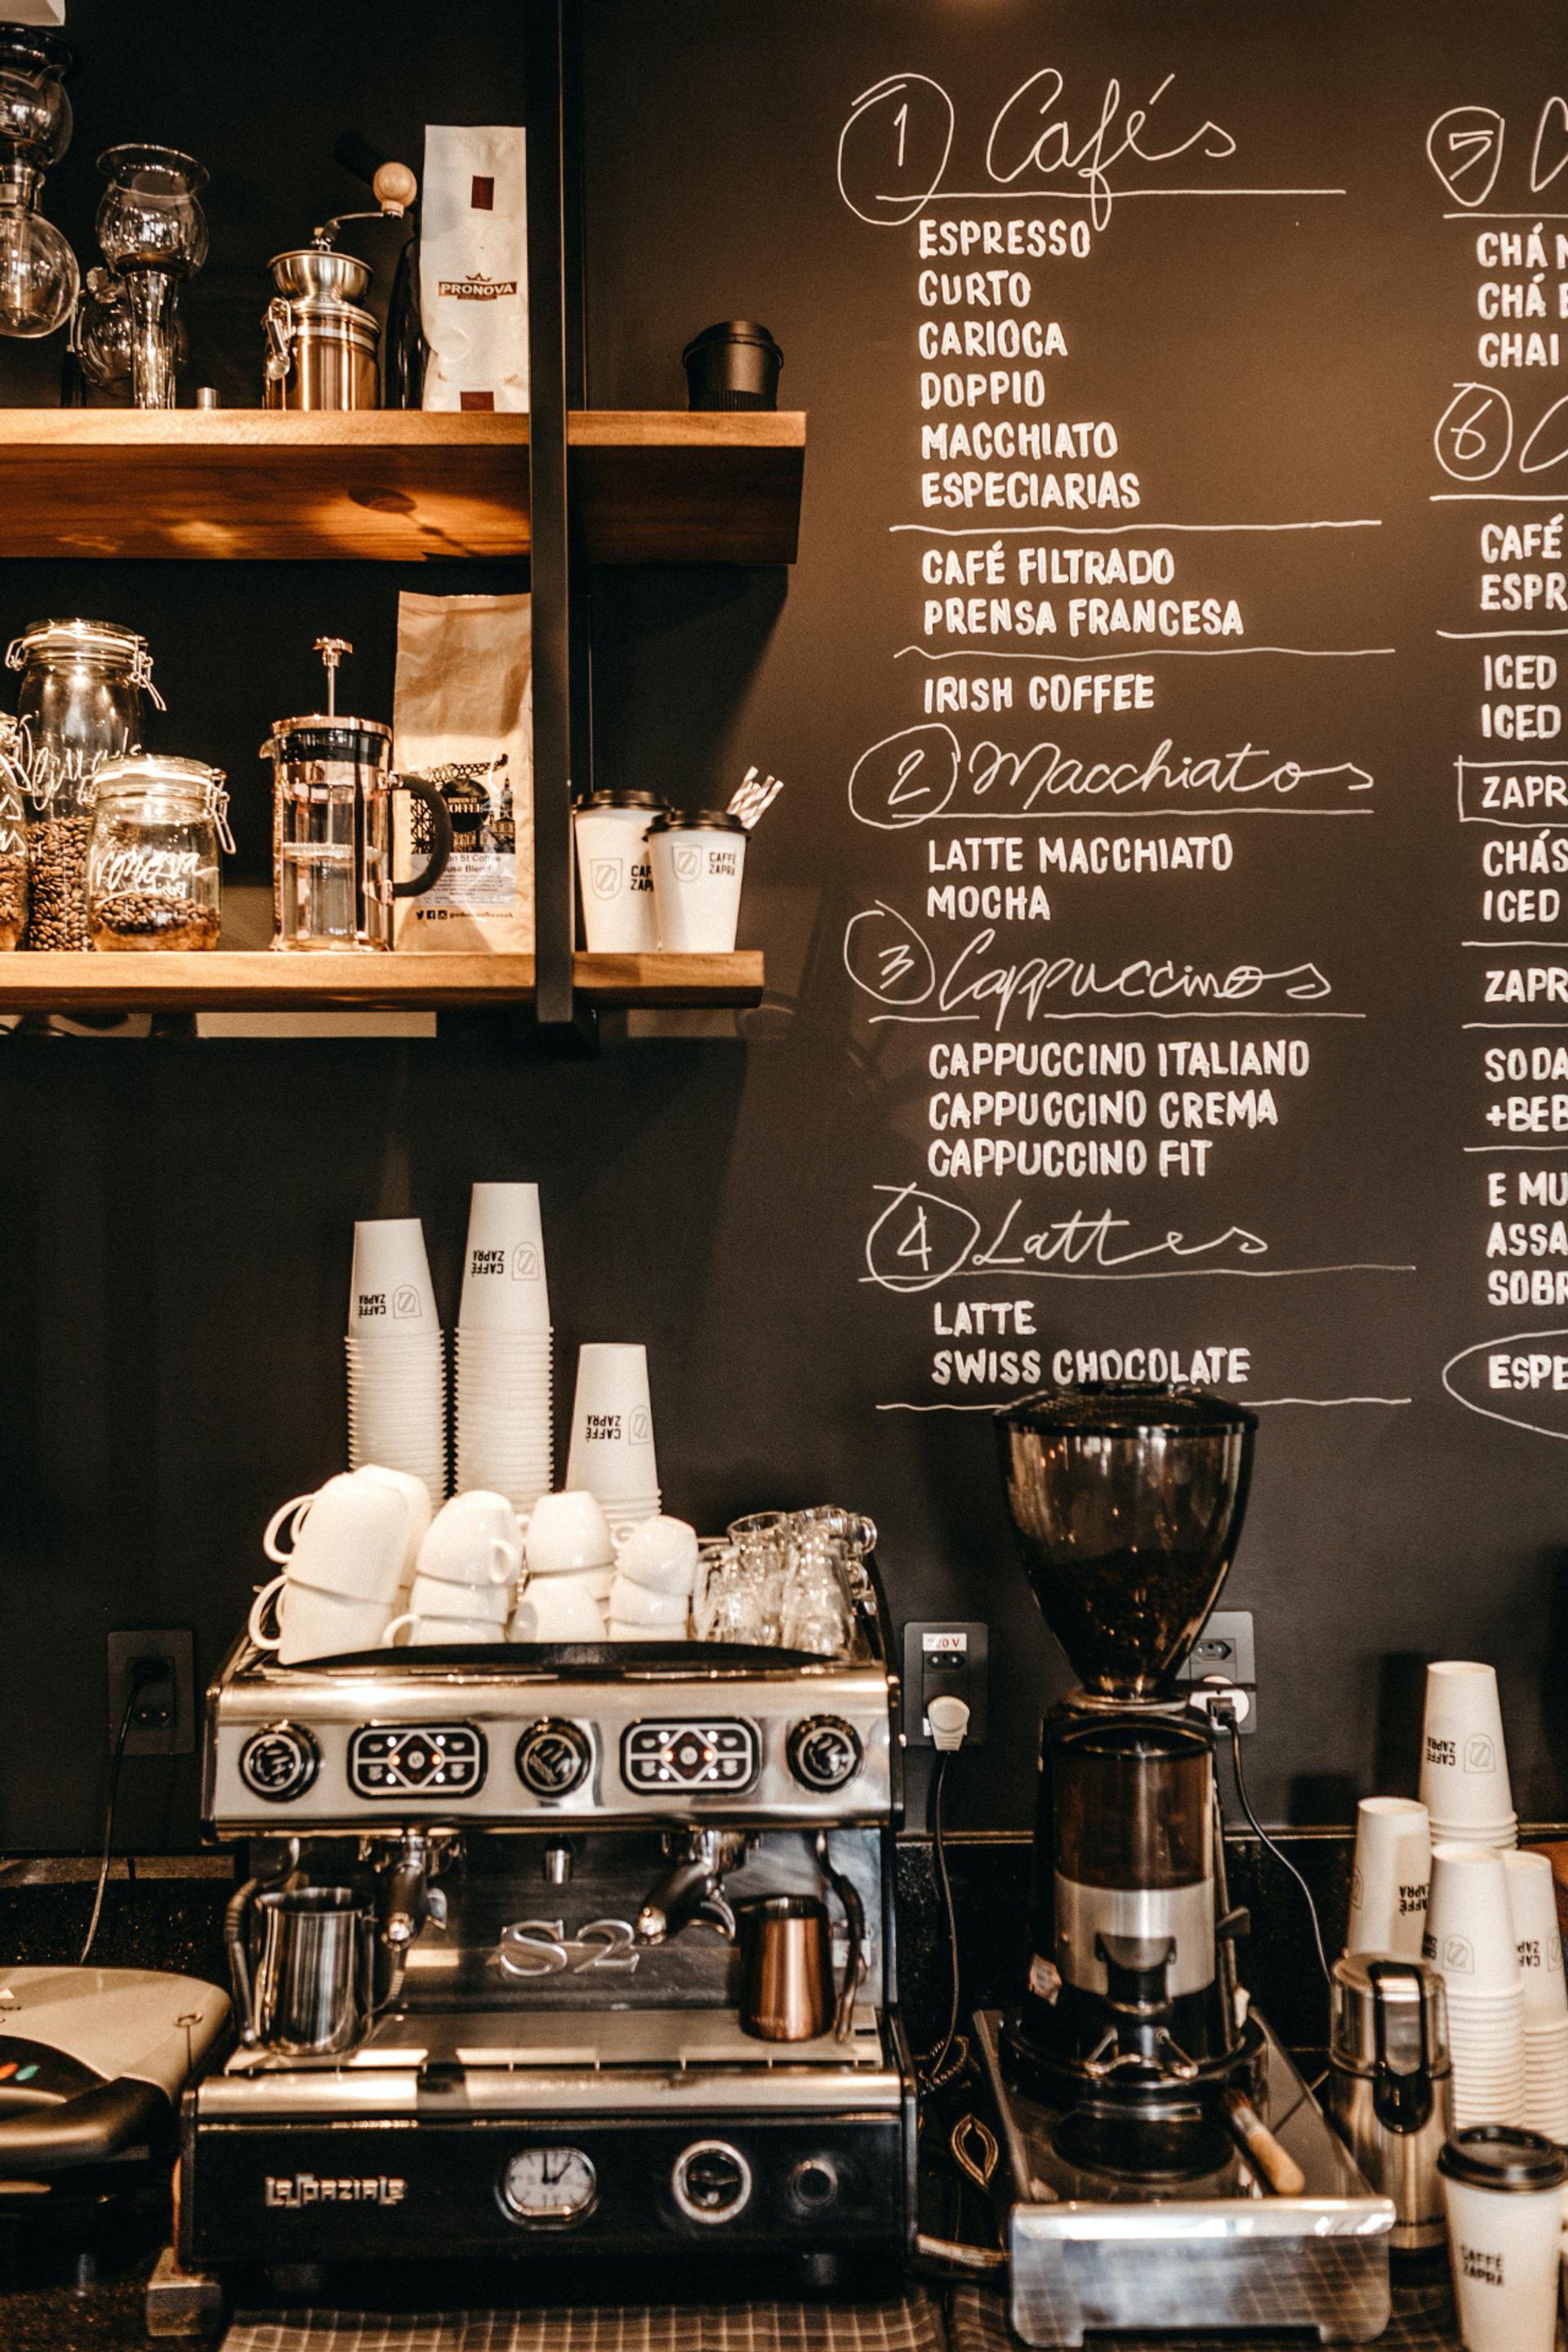
To create a restaurant menu, you must first choose the dishes, accompany them with drinks, then the desserts, and the accompanying drinks for the desserts.
Unlike restaurants, coffee shops consider primarily the types of beverages you serve before choosing desserts to create the menu.
That's why I recommend that you create a drink list first — the more detailed the better.
You can put in the ingredients used, a short description of the flavor profile (sweet, sour, bitter, etc.), and more.
After creating that list, you can create the perfect desserts to combine their flavors with those of the drinks.
For example, sour or bittersweet drinks go well with sweet desserts.
This is just an optional step — each customer is going to order according to their taste after all.
However, taking flavor profiles into account will help you make the right choices, innovate signature flavors, and more.
If you don't want to take this extra step, you can simply take local trends and/or traditions as a guide.
You must know what you can produce in your coffee shop
Before deciding to add desserts to your coffee shop, you should always make sure you have the platform and the necessary equipment to prepare them.
This includes:
- Work equipment: From pastry ovens to the correct trays for each preparation.
- The necessary ingredients.
- Production space: If you have enough space to produce the desserts on a large scale.
- Sufficient storage space.
- Sufficient display space.
In addition, you should consider this decision for daily production and distribute this work well among your pastry staff — this is vital if the desserts are very complicated.
Best desserts for coffee shops

To help you in your decision, I have chosen 5 delicious desserts that will help you expand the menu of your coffee shop easily and profitably.
These desserts are easy to make, easy to improve and modify, and relatively inexpensive.
That's why they're great for new coffee shops that don't have a lot of equipment or a budget for expensive ingredients.
To the recipes!
Tiramisu
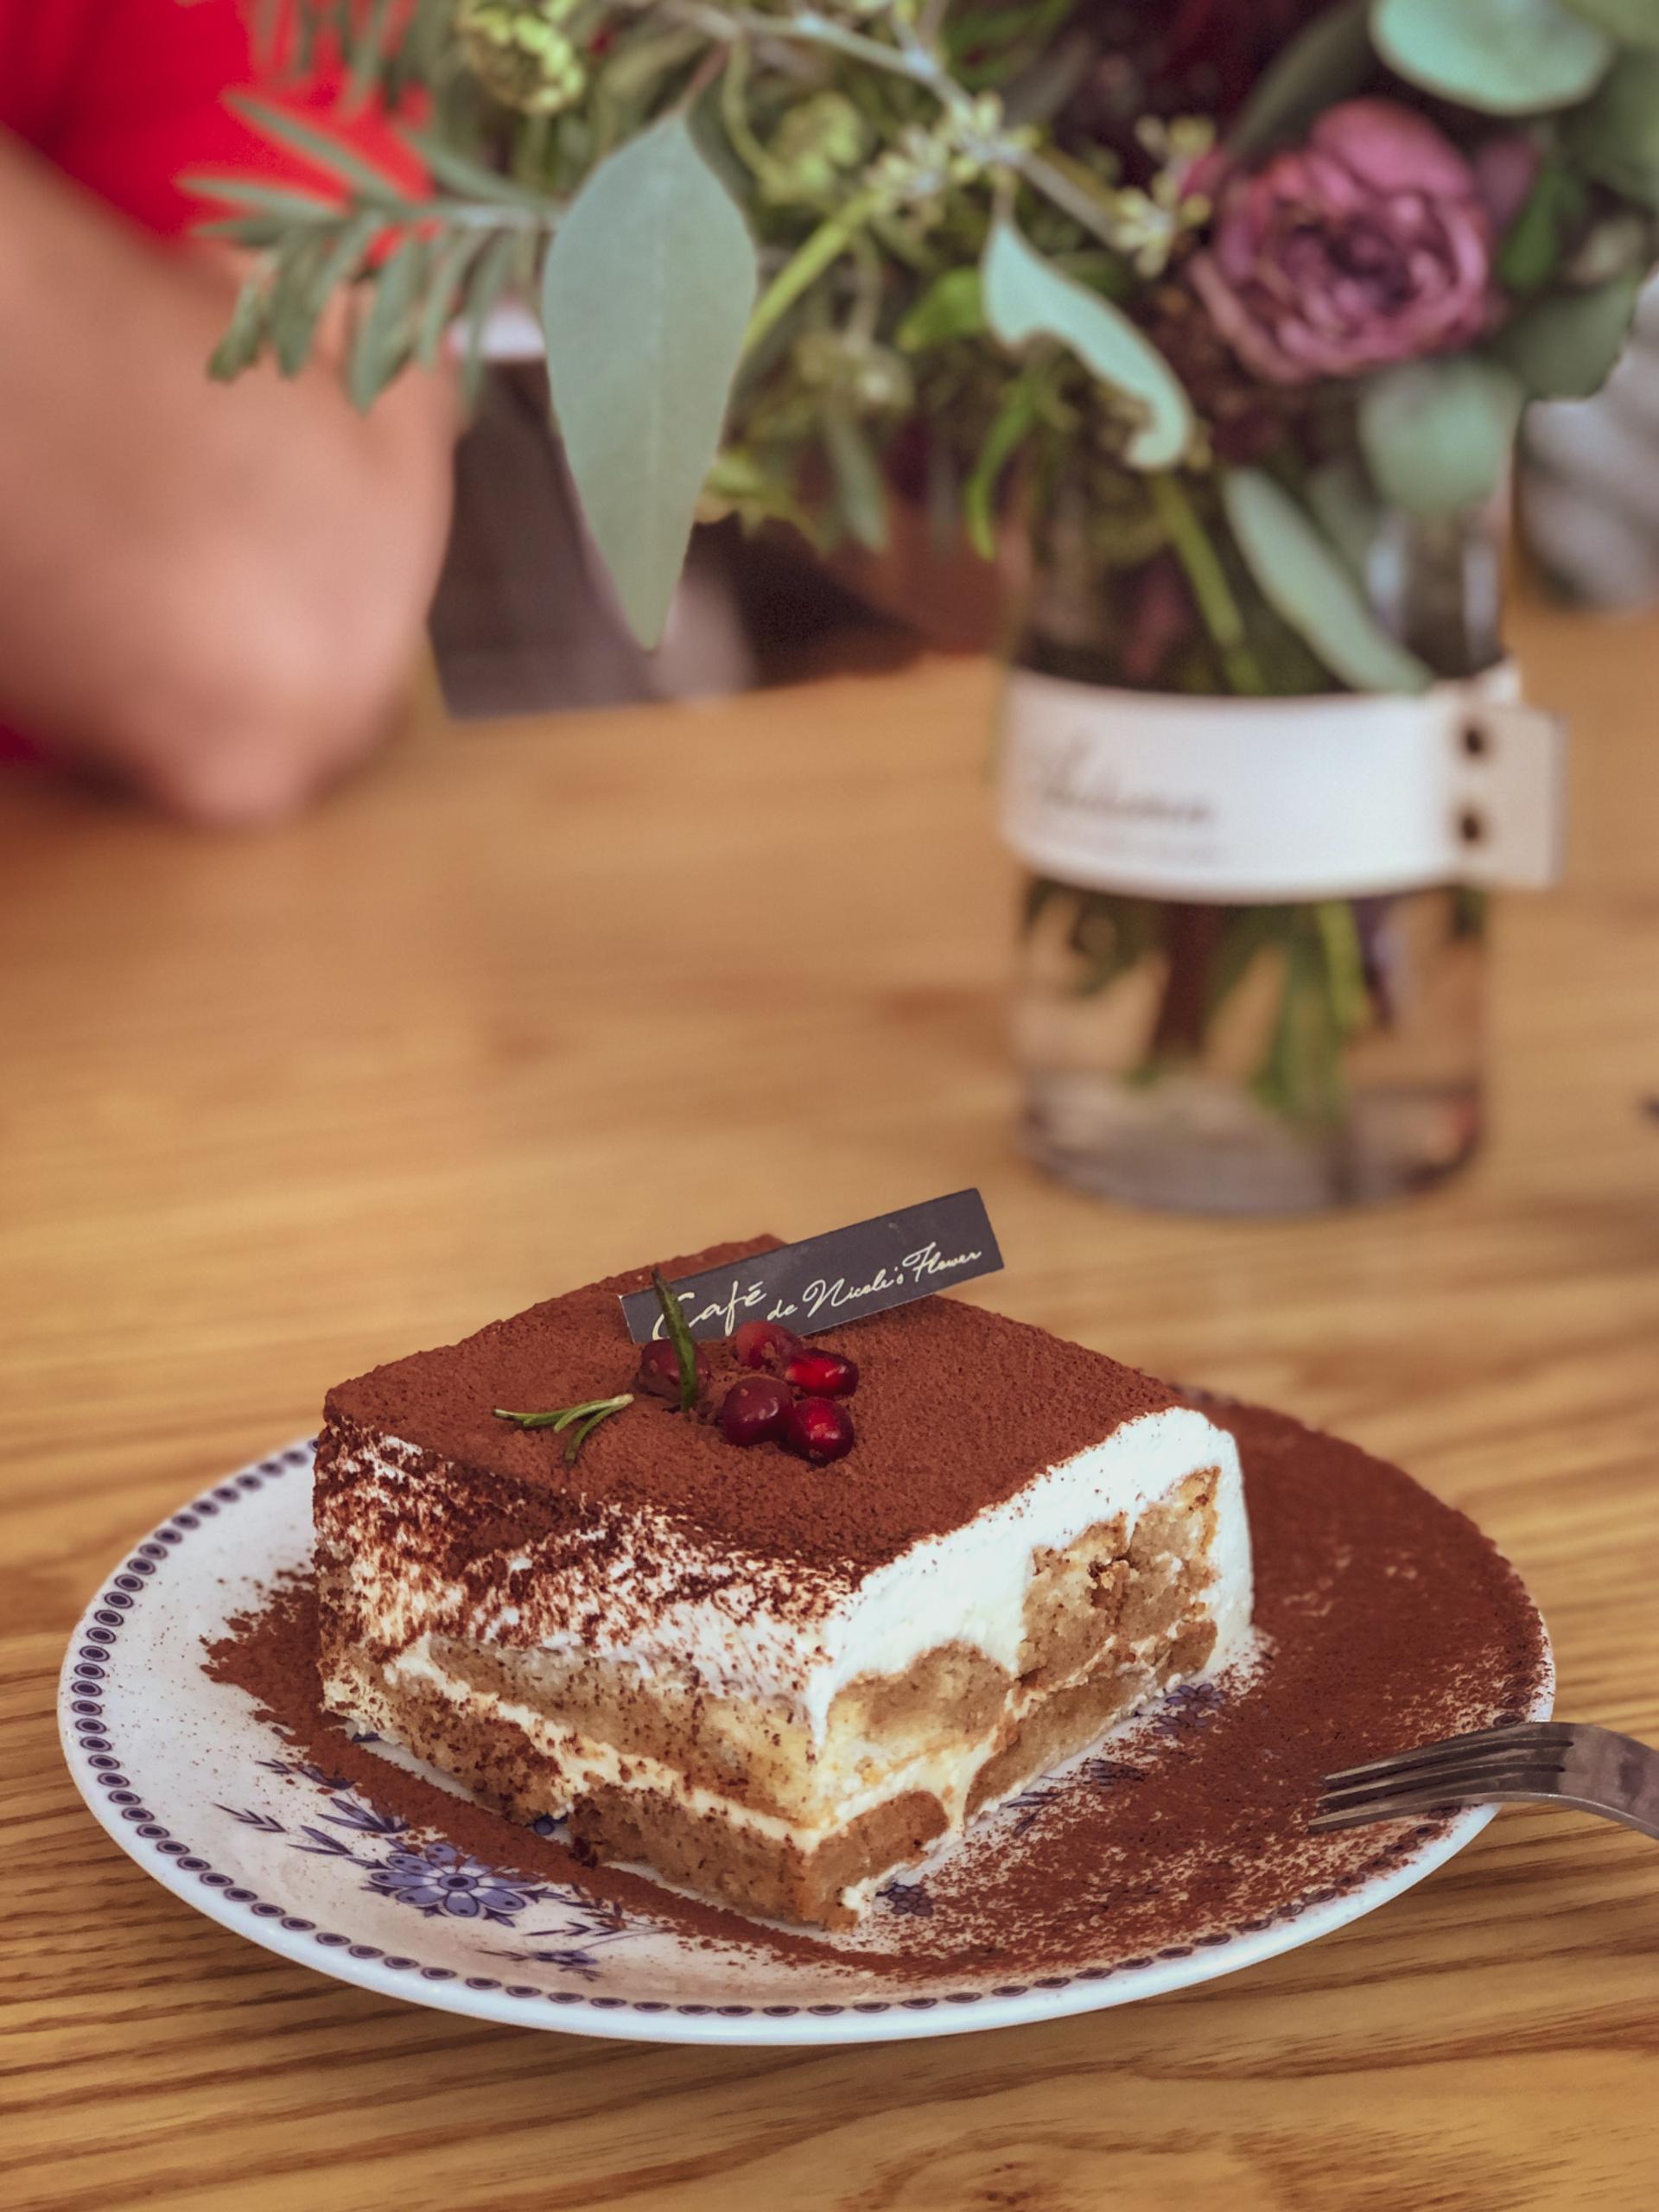
Tiramisu is an Italian dessert that mixes all the good things in the world of cooking.
It is known worldwide for its smoothness, its incredible mix of flavors, and its simple recipe.
This time, I share with you an easy but delicious inexpensive recipe.
Remember that you can always improve it, alter it, improve its decoration, and give it the touch only you can give it in your coffee shop.
There are versions of Tiramisu with chocolate, fruit flavors, and more - it's up to you to use the right ones!
Ingredients for ladyfingers:
- 3 large eggs and an egg white.
- ½ cup of sugar (divided in two).
- ½ teaspoon of vanilla extract.
- 1 cup of all-purpose flour.
- 1 pinch of salt.
Preparation of the ladyfingers:
- Preheat the oven to 180ºC.
- Separate the egg whites and yolks into two different bowls.
- With a hand mixer, beat the egg whites together with ¼ cup of sugar until they’re fluffy.
- After the whites are fluffy, start to beat the egg yolks in the other bowl along with the rest of the sugar. This mixture will be white and not as fluffy as the one above.
- When both are ready, mix them in a bowl of sufficient size using a spatula. Use slow, wrapping motions to avoid pulling air out of the mixes.
- Add the flour and a pinch of salt to the mixture using a sieve, and continue mixing until all the flour is incorporated.
- Scoop the mixture into a large piping bag and use a large pick. Arrange the ladyfingers of the size you want on a medium-sized tray. You can even place them side by side just a few inches apart.
- Bake the ladyfingers for about 14-15 minutes. They will be fluffy and will get a little hard after cooling.
Ingredients for Tiramisu:
- 1 cup of mascarpone cheese
- A cup of strong black coffee.
- 4 large egg yolks. 5 if they are small.
- ½ cup of sugar divided into two containers.
- ¾ cup heavy cream or cream.
- 2 tablespoons of rum or cognac (this is totally optional)
- 2 tablespoons of cocoa powder.
- About 30 ladyfingers / ladyfingers.
- 30g of sugar-free pastry chocolate.
Tiramisu preparation:
- In a bowl, mix the egg yolks with an electric mixer together with half the sugar until it has a creamy consistency.
- In another bowl, mix the cream with the mascarpone cheese until it has a consistency between smooth and medium. It should be easy to spread when you're done.
- In a small bowl, mix the coffee and liquor of your choice. In this mixture, you will bathe each of the ladyfingers. Make sure they have hardened — if you made them with the recipe above, you should wait about 12 hours.
- Dispose of each ladyfinger that you bathe in the coffee in a resistant baking sheet. You can use a metal platter, but crystal platters are best if you plan to display the Tiramisu.
- Create a base with ladyfingers by placing one next to the other, and fill in the spaces by cutting them if necessary. There shouldn't be much space between each one — this makes serving the portions easier.
- When you have the first layer, add half of the mascarpone cheese mixture.
- Repeat the process for the second coat. In the top layer, you can create patterns, or spikes in the cream to decorate them without much effort.
- Add the cocoa powder and grated pastry chocolate to finish.
And it’s ready! No one who walks into your coffee shop will be able to resist the delicious appearance of the mighty Tiramisu.
Cheesecake
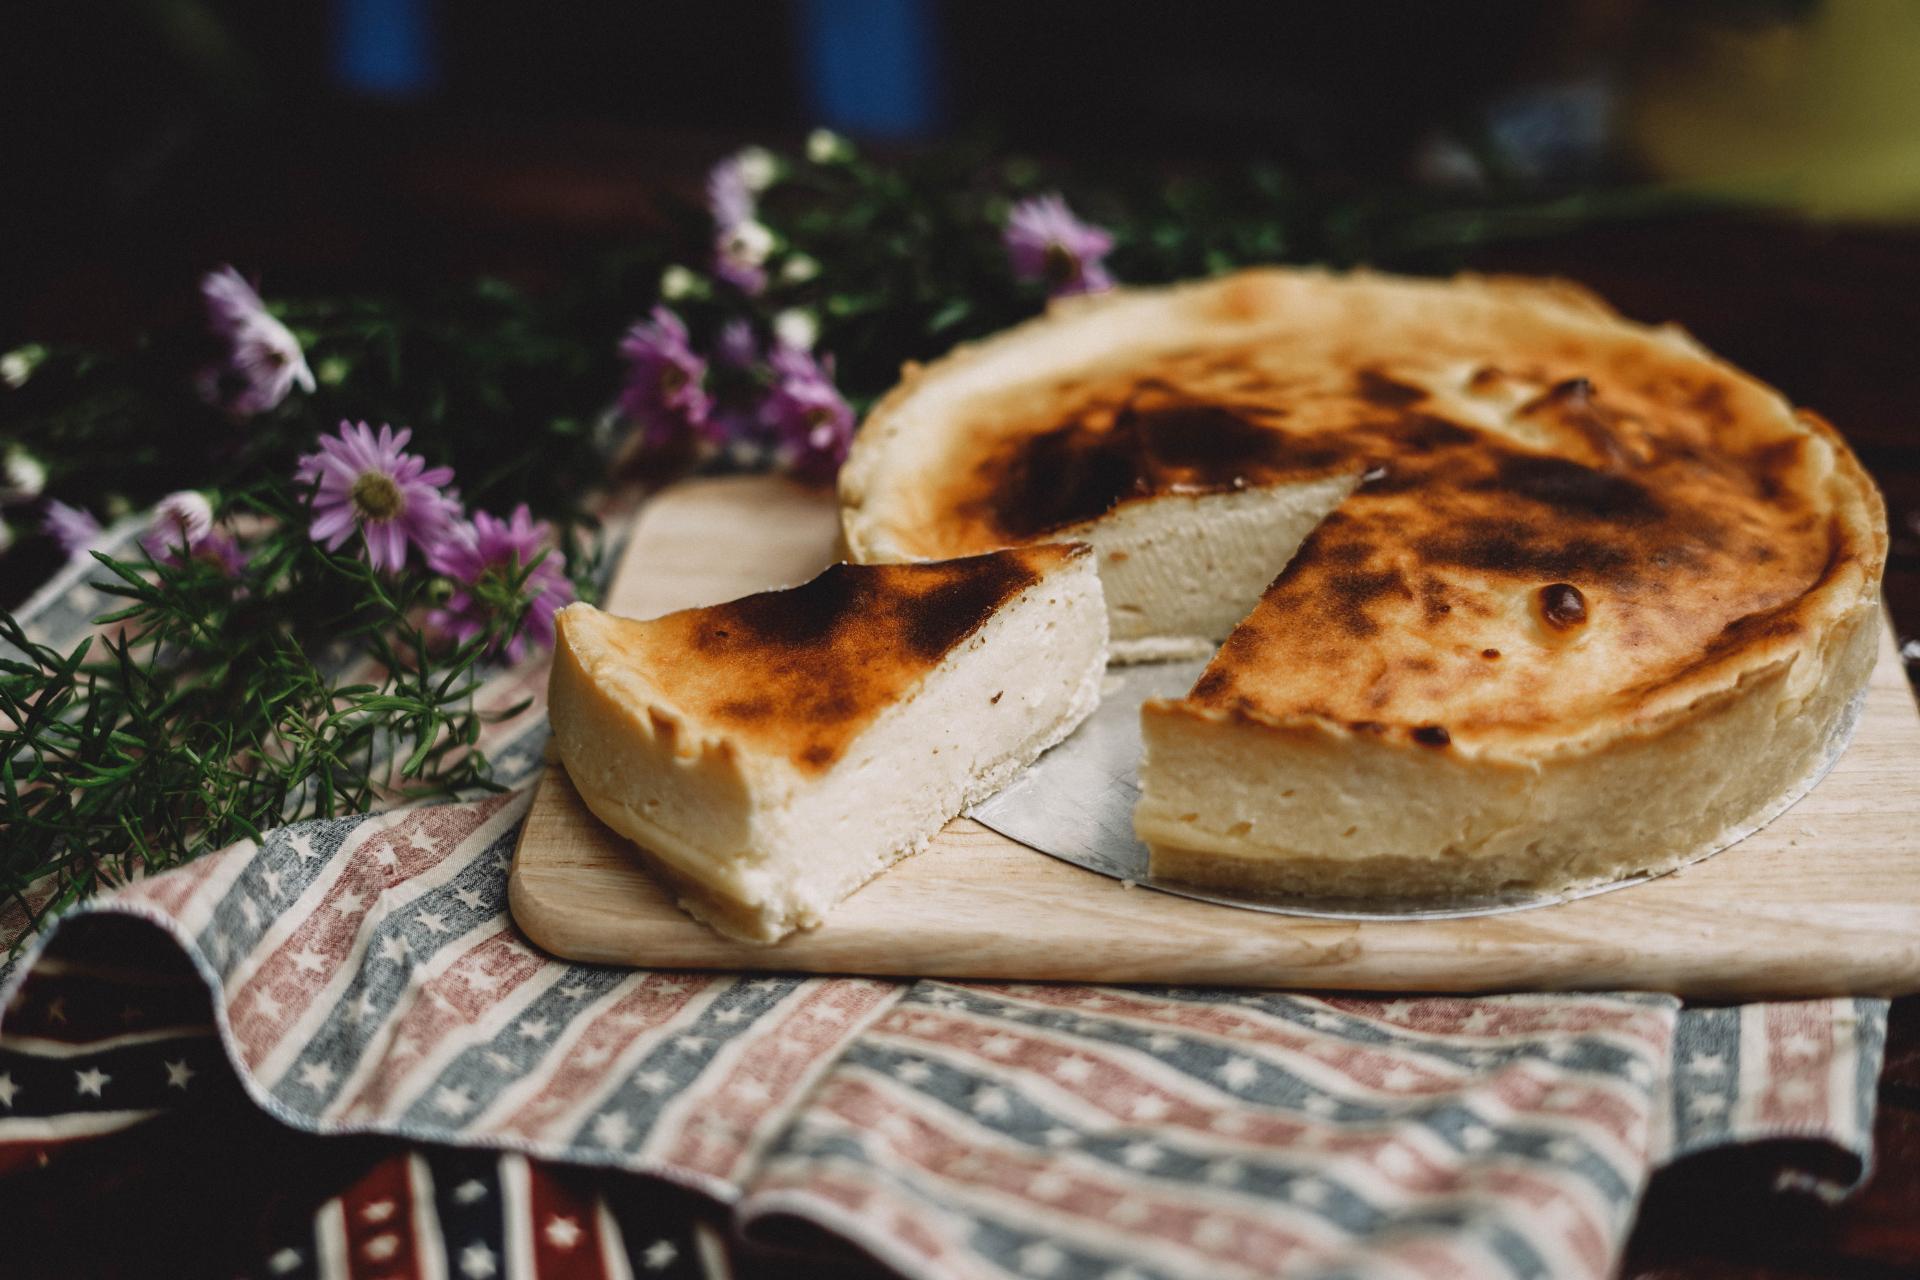
Cheesecake is a very famous recipe, with origins older than you might imagine — 4000 years ago in Greece! Or at least a very similar ancient version.
This dessert is smooth, creamy, and goes very well with almost everything, especially good coffee.
However, this dessert is more for coffee shops with some time on the market (or with a hefty budget), as it is also one of the most expensive on this list.
Of course, there is no doubt that a good cheesecake is well worth it.
Use the recipe below and you won't have any losses!
Ingredients for the cheesecake base:
- For the base, you can use digestive biscuits or the same recipe for the ladyfingers. You just need to bake them a little longer and make a full base on a tray.
- If you are using digestive biscuits, the amount may vary. Normally a whole 250g pack will suffice.
- ¼ cup of butter.
- ¼ cup of sugar.
Preparation:
- Preheat the oven to 180ºC.
- Crush the cookies using a food processor.
- Add the sugar.
- Melt the butter and add it to the mixture above.
- Layer the mixture in a mold with removable sides. The base is the main thing, so make sure to cover all the spaces with a constant thickness. To achieve this, you can use the bottom of a glass or a measuring cup.
- When you cover the base completely, then you can create edges about ⅓ the height of the pan.
- Bake this mixture for about 10 minutes and let it cool. Some cookies take less time to develop to the correct consistency, so these times may vary. Pay close attention to avoid burning the crust!
This base should be left to rest for 1 hour at room temperature.
Ingredients for the cheesecake:
- 1kg of pastry cream or mascarpone cheese (block). Don't use commercial cream cheese spread - the consistency is not the same.
- 1 cup of sugar.
- 1 cup sour cream.
- 1 teaspoon of vanilla extract.
- 1 teaspoon of lemon juice.
- 3 eggs.
Note: All ingredients must be at room temperature.
Cheesecake preparation:
- Preheat the oven to 180ºC.
- Place the mascarpone cheese in a large bowl and add the sugar. Mix with the help of a kitchen aid or electric mixer.
- When the cheese is creamy and smooth, add the vanilla extract, lemon juice, and sour cream.
- While everything is being mixed, bring water to a boil.
- When everything is integrated, add the eggs one by one. Make sure to do it slowly and without mixing too much as this can ruin the texture of the cheesecake later.
- Add the mixture to the base in the mold evenly. Cover the pan with a sheet of aluminum foil — cover every slit at the base and sides!
- Place the demountable pan into a high-sided tray. Take the hot water and pour it into the tray.
- Bake for a whole hour. It is recommended that you check the oven after half an hour to see if it is browning a lot. If so, you can finish covering the top with aluminum foil, and place the cheesecake back in the oven.
- After the full hour is up, just turn the oven off and open it. Use a kitchen towel to leave a small opening. Wait another 45 minutes and open the oven door fully. Wait another 15 minutes and remove the cheesecake.
- You should wait about 3 hours before refrigerating it. It is important to let it cool gradually before refrigerating so that it stays fluffy and prevents cracking.
And that’s it! This is a simple recipe that you can easily modify, plus you can add more to this base recipe.
For example, you can use your cookies to make the crust, you can add decorations with candied fruits, chocolates, and much more.
Cinnamon rolls
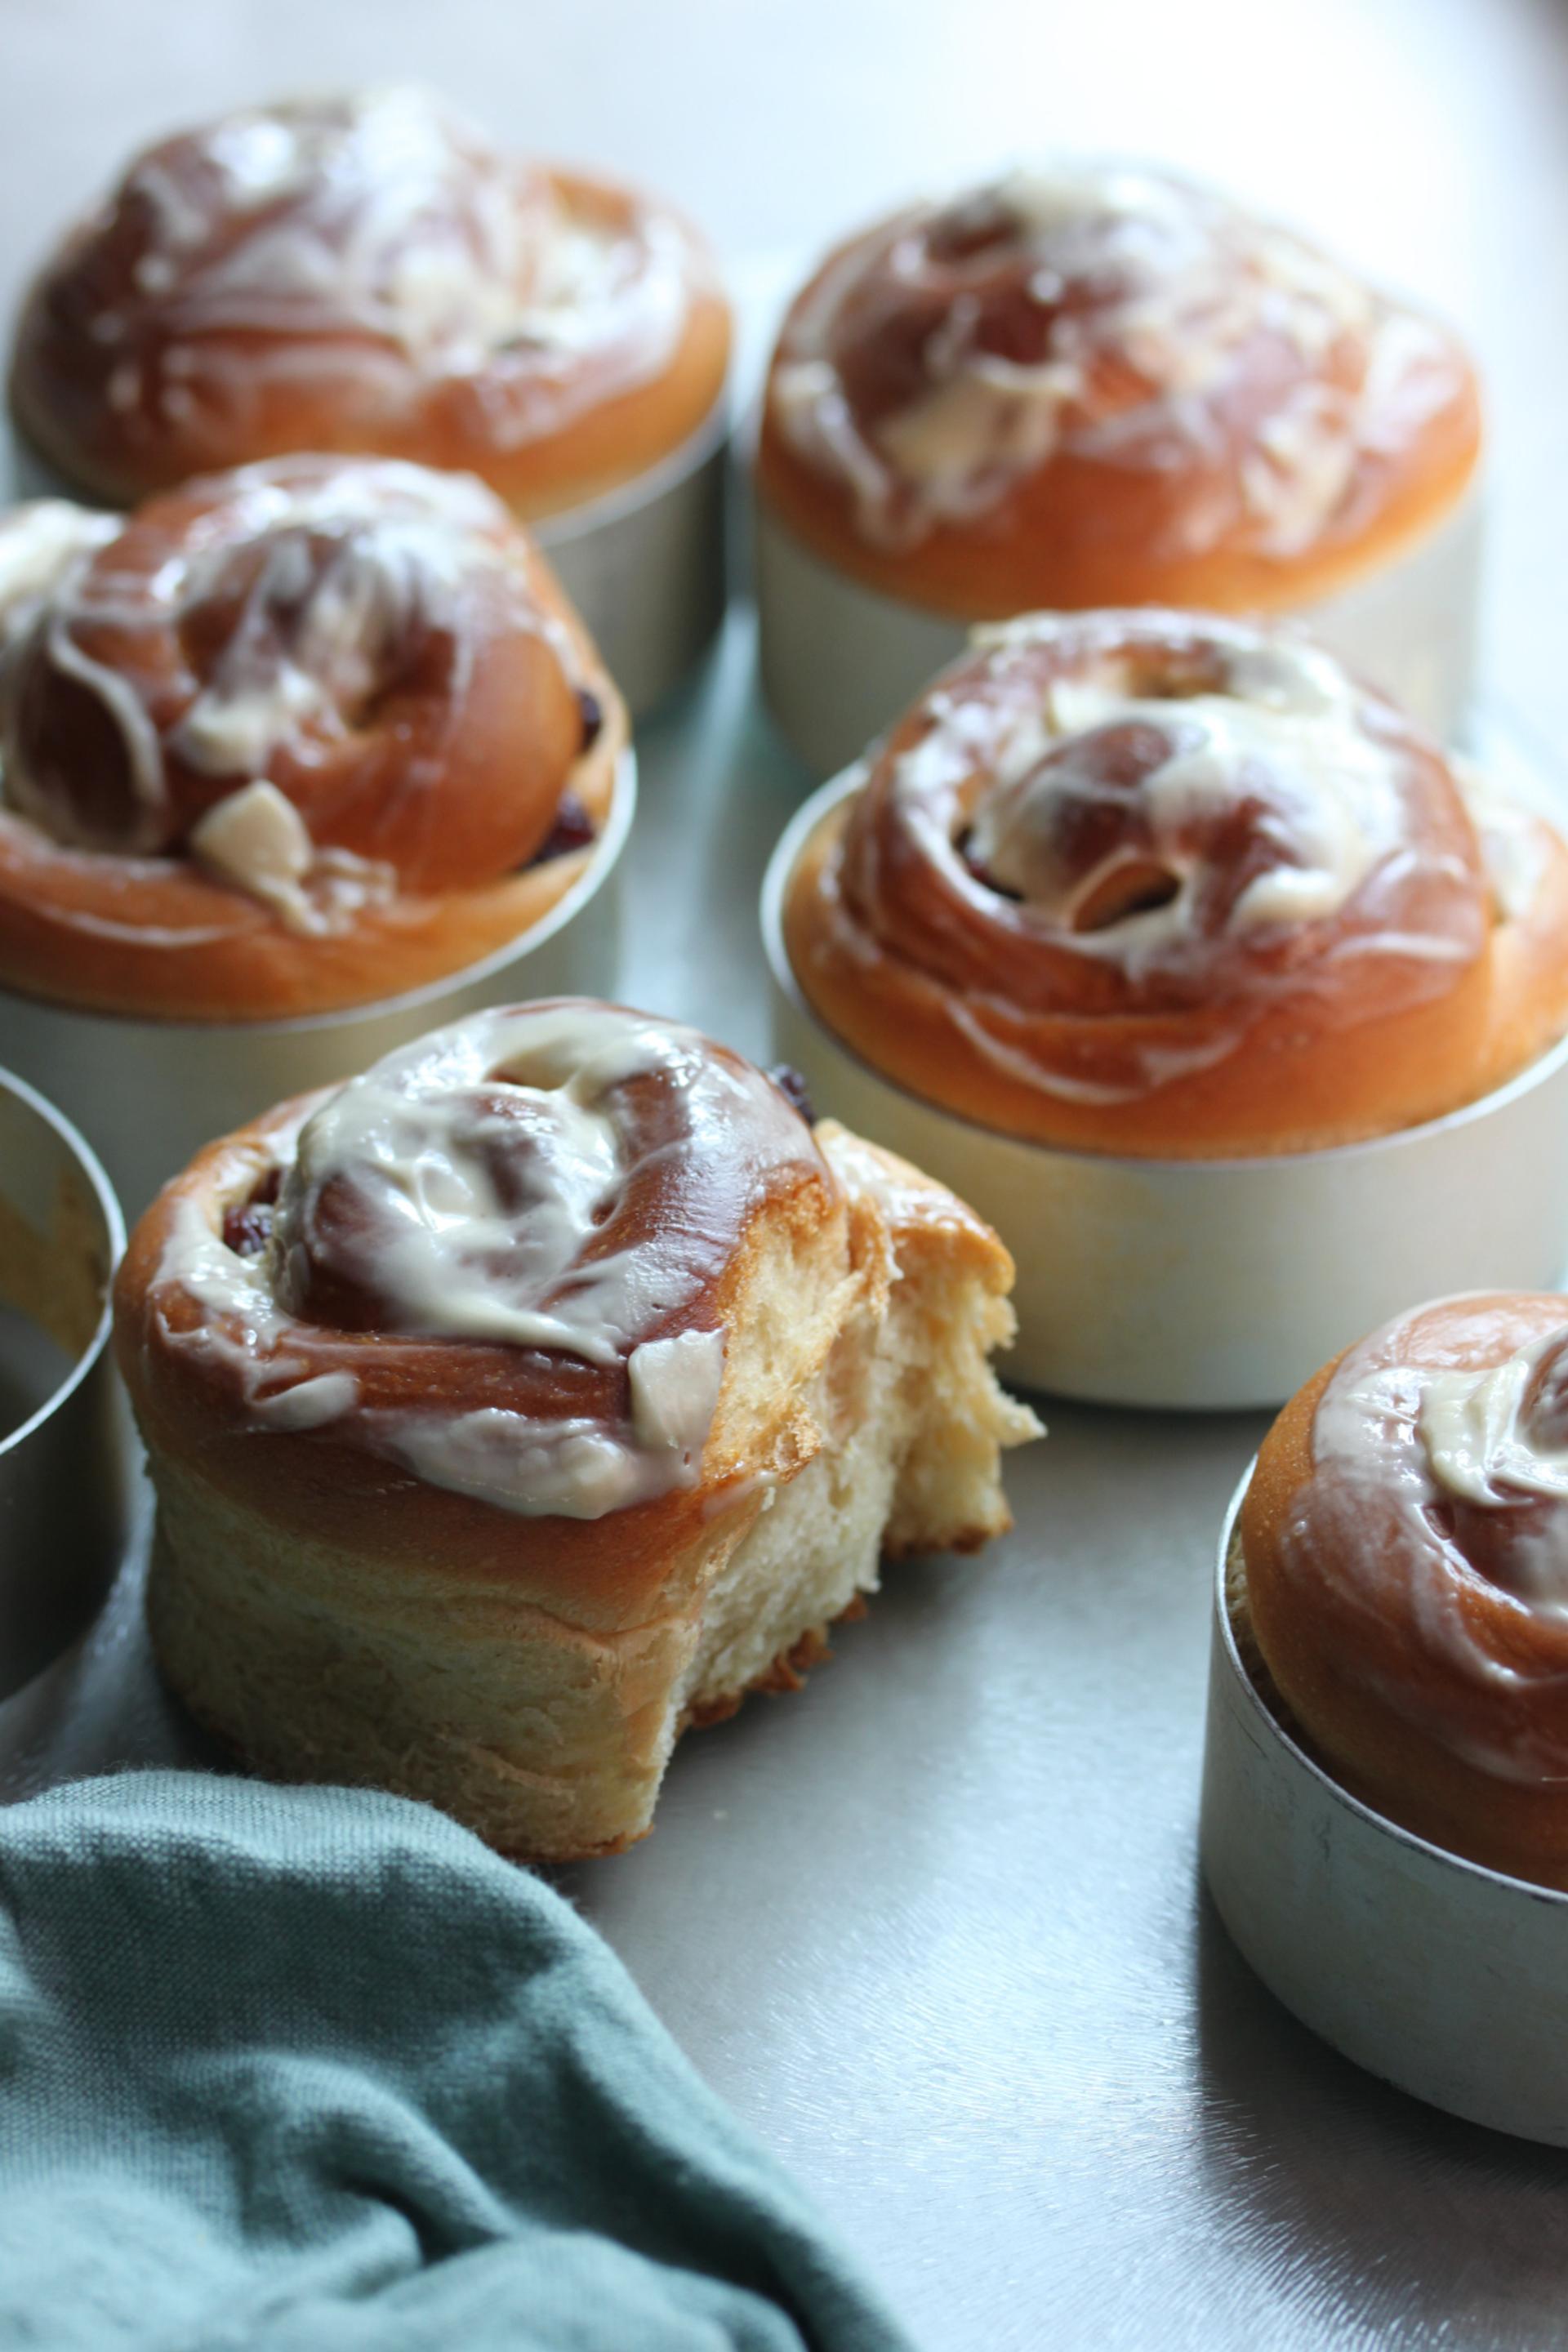
Cinnamon rolls are a dessert created in Sweden thanks to the introduction of cinnamon from Sri Lanka - a curious fact is that, since 1999, there has been a cinnamon roll day, which is the 4th of October.
And of course, these rolls deserve a day to celebrate!
Cinnamon rolls are soft, sweet pieces of bread filled with butter, sugar, and cinnamon. They are very tasty, and perfect to eat together with a bitter drink, such as black tea or black coffee straight out of the machine.
In addition, thanks to the sugar and cinnamon, they can provide you with a good dose of energy to start the day.
This is one of the quintessential coffee shop dessert recipes. Check out the recipe below!
Ingredients of the cinnamon rolls:
For the dough:
- ¾ cup of milk.
- 2 and ¼ teaspoons of yeast. It can be quick or active, and of course, you can use homemade sourdough.
- ¼ cup of sugar.
- 1 egg.
- 1 egg yolk.
- ¼ cup unsalted butter (melted).
- 3 cups of wheat flour and 1 more cup for dusting.
- 3/4 teaspoon of salt.
For the filling:
- ⅔ cup of brown sugar.
- 1 and ½ tablespoons of ground cinnamon.
- ¼ cup unsalted butter (at room temperature).
For the glaze:
- 115g of cream cheese for pastry.
- 3 tablespoons unsalted butter, softened.
- ¾ cup of powdered sugar.
- ½ teaspoon of vanilla extract.
Preparation of cinnamon rolls:
Dough:
- First of all, start by melting the butter and heating the milk. The milk is to activate the yeast, so just warming it up will suffice (less than 45ºC). Remove both from the heat when they are done.
- Pour the warm milk into a bowl and add the yeast. Mix for a moment with a whisk.
- Add the sugar, the butter (not over 45ºC), the eggs, and the yolk to the milk. Mix everything until well combined.
- With the help of a strainer, add the salt and wheat flour (3 cups) and begin to mix everything with a wooden spoon.
- After the dough begins to form, place it on a clean, floured counter to begin kneading. This can also be done in a mixer or kitchen assistant.
- Knead for about 10 minutes at a good speed (8 min if it is in a machine) and make sure you get a homogeneous and not sticky dough. If it is still too wet, add a little flour until it reaches the desired consistency.
- Transfer the dough to a bowl previously greased with vegetable oil, and cover the bowl with plastic wrap, a kitchen towel, or both. You should wait between an hour and an hour and a half to let the dough rise until it reaches twice its size. It will take less time if you are in a hot environment or if you use the lift function of a modern oven.
- After the rising time, you can place the dough on a well-floured counter and begin to stretch it well until you achieve a rectangle of sufficient size (for example 35cm by 9cm).
Filling:
- Then you must spread the butter at room temperature. Add enough to cover the spread dough leaving an approximately 1cm margin on one of the 9cm sides.
- Mix the sugar, cinnamon, and brown sugar in a bowl with a whisk and begin to sprinkle it through the dough — remember to respect the margin.
- After the dough is covered, rub the sugar and cinnamon mixture lightly with your hand. This helps it stay in place.
- Finally, roll the dough carefully starting from the 9cm side with no margin. When you reach the margin, flip the dough over and hold the margin tightly to stick it on the roll firmly. You can use a little bit of egg yolk or water for it to stick easily.
- Cut the dough into the size you want, it is recommended that you do it with a serrated knife or nylon pastry thread. If you cut at a distance of 2.5cm you will get 9 or 10 equal rolls (the size of the dough can vary).
- Place the rolls on a previously greased tray and cover them again. They should lift between 35 and 45 minutes more.
- When about 30 minutes have passed, preheat the oven to 180ºC.
- Bake for 20 and 23 minutes, or until golden brown on the outside.
- You can let them rest for about 5 minutes in the oven and then remove them to let them rest.
For the frosting:
- For the frosting, pour the cream cheese, sugar, vanilla, and butter into a bowl and beat with a whisk or a kitchen assistant until smooth and creamy.
- Apply the glaze while the cinnamon rolls are hot.
Enjoy!
Cakes
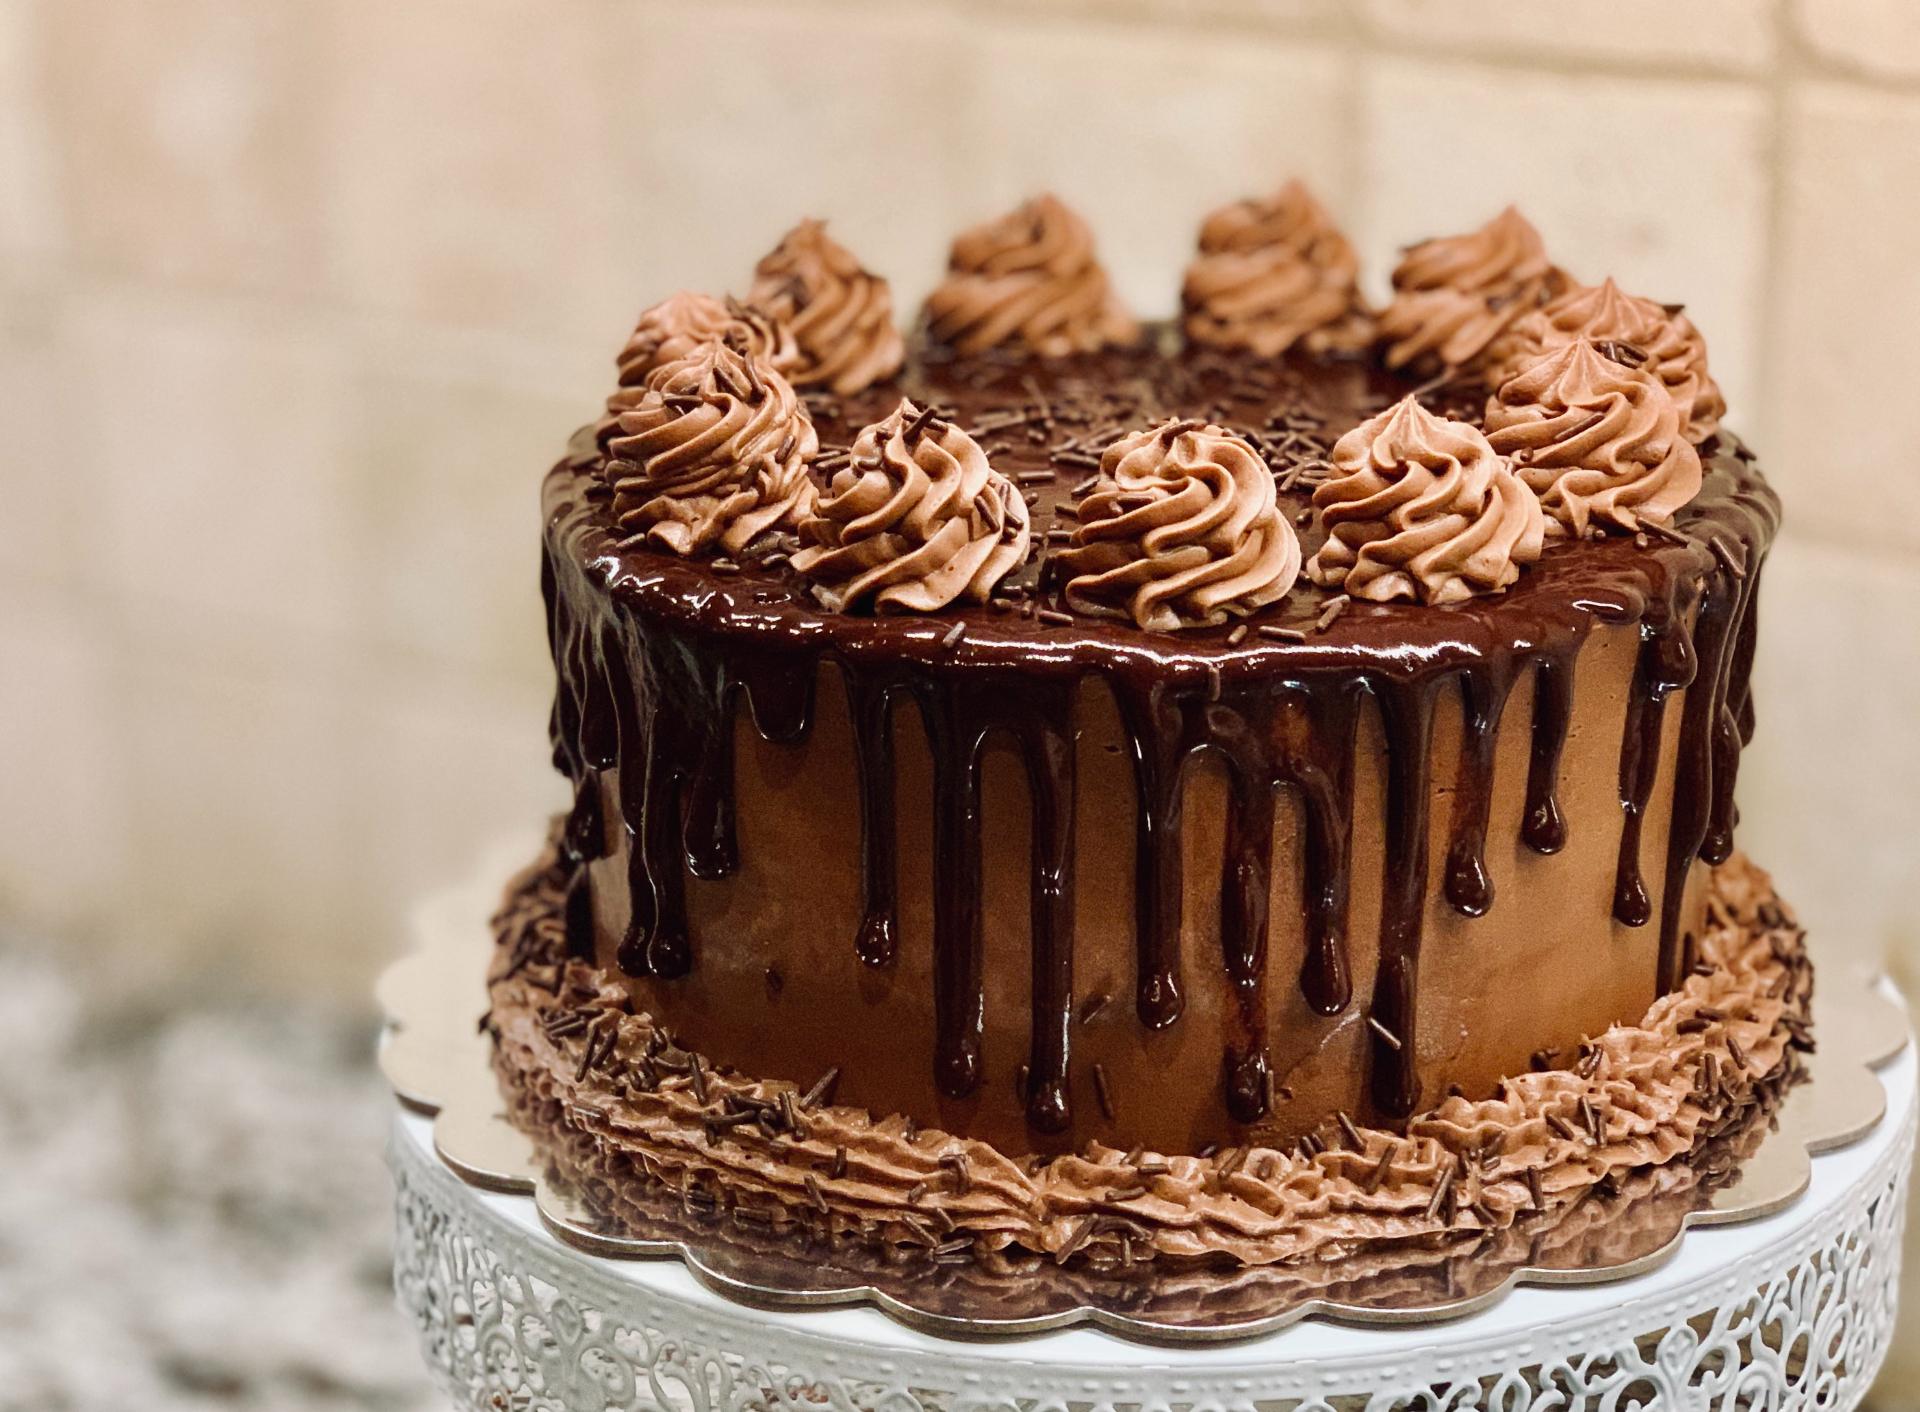
Cakes are known with different names all around the world — still, regardless of how you know them, we can all agree that they’re appetizing and tasty.
By mixing wheat flour, eggs, baking powder, milk, sugar, salt, and vanilla you can obtain a very tasty basic cake that cannot be missing from the menu of a coffee shop.
There is no doubt that cakes are one of the most common desserts around the world — and they are the most used at birthdays and other celebrations.
Why should they be part of your menu?
For one simple reason: their versatility.
Some businesses are based solely on baking cakes! This is because, with a base recipe, you can get hundreds or thousands of different recipes by adding or removing a couple of ingredients.
In addition, there is the decoration of cakes, which gives you a unique advantage (and each business) to exploit to attract the attention of your customers.
Here is a simple cake recipe!
Basic cake ingredients:
- 5 eggs.
- 1 cup of sugar (divided into two)
- 2 cups of pastry flour.
- 50ml of water.
- 25ml of olive oil.
- 8g of baking powder.
- ½ teaspoon of salt.
- 1 teaspoon vanilla extract.
- Lemon zest.
Preparation:
- Preheat the oven to 170ºC.
- Separate the eggs and whites into two different bowls.
- Add the salt to the whites and begin to beat with an electric mixer (or by hand if you can). After thick foam forms, add half the sugar and continue beating until you get a firm meringue that forms medium peaks.
- Now add the oil to the egg yolks, the sugar, the vanilla, and the lemon zest. Beat with the electric mixer until everything is mixed.
- Mix the baking powder, salt, and flour in a separate bowl.
- Start adding the flour to the yolk mixture and incorporate everything with the mixer.
- Slowly add the egg whites and incorporate them in an enveloping way.
- Pour the mixture carefully into a well-greased removable mold. Remember to give it a few gentle strokes, letting the mold fall on the counter so that the air bubbles come to the surface. If you skip this step, your cake will have holes in the center.
- Bake for 45 minutes. As this time passes, move it a bit inside the oven to see if it moves in the center. If it doesn't move, dip a toothpick into the cake to see if it's done. If the toothpick comes out wet, leave it in the oven for about 10 more minutes.
- Remove it from the oven and it is ready to decorate.
This cake is particularly fluffy, so be sure to remove it from the pan very carefully.
After it is settled, you can decorate it as you want — with meringue, cream, chocolate, fondant, you can cut it in half and fill it, you can put fruits, and much more.
In addition, to make it in different flavors, such as chocolate, you will only have to alter a small part of the recipe. Master this simple cake and modify it to your liking to make it unique!
Doughnuts

Donuts are a marvel of modern science — or at the least some consider them to be.
A couple of hundred years ago, donuts have been inefficiently fried pieces of dough.
Normally they were raw in the center as the oil did not cook them completely.
This went on until someone had the brilliant idea to add a hollow center to their shape so they would cook completely.
Today, there are hundreds of different types of donuts, with different ways of cooking, different types of fillings or toppings, and much more.
This time, I will share with you a simple baked donut recipe.
These baked hollow donuts are some of the best coffee shop desserts that you can use on your menu.
Ingredients for baked donuts:
- 1 and 2/3 cups of wheat pastry flour.
- 2 tablespoons of baking powder.
- 1/8 tablespoon of baking soda.
- 1 pinch of salt
- 1 pinch of walnut
- 50mg of unsalted butter (soft)
- 2 tablespoons of vegetable oil.
- 3/4 of a cup of sugar
- 2 large eggs
- 1 and 1/2 tablespoons of vanilla extract
- 3/4 of a cup of buttermilk.
Preparation:
- Begin by preheating the oven to 215ºC and greasing the donut molds for the oven.
- In a bowl, mix the flour, nutmeg, baking powder, baking soda, and salt.
- In another bowl, mix the butter, oil, and sugar. You can use an electric mixer to speed up the process. Once everything is mixed, add the eggs and vanilla.
- Then, to this mixture, you will add a third of the dry ones. Beat until combined and add half the buttermilk, beat again and add another third of the flour, and repeat the process until you finish mixing the flour and the buttermilk. Make sure you don't beat this mixture too much after everything is combined - it doesn't matter if there are any lumps in it.
- Scoop this mixture into a piping bag with a thick pick and begin carefully filling the donut molds.
- Bake for about 8 minutes. At the end of this time, apply the toothpick test - bake 2 more minutes if they are not done.
And that’s it! You can decorate your donuts with anything you want. From chocolate chips, creams, meringues, candied fruits, nuts and caramel, and much more.
You can create savory versions with different flavors, like bacon. You can even fill them with cream or dip them in some delicious chocolate sauce.
The possibilities are endless!
3 tips for adding desserts to your coffee shop menu
Check out these tips to add something different to your desserts:
1. Add a unique touch to your desserts
Whether you add a flavor created in your coffee shop, a striking presentation, or even a unique promotion — adding an incomparable and unmistakable touch to your desserts will make your business stand out.
In addition to that, this makes your desserts more shareable on social media, so you can get a lot of publicity from your customers.
Invite them to tag your business profiles to achieve the best result. Offer them free WiFi on your business if necessary!
2. Improve the production of your coffee shop's flagship desserts
Some desserts sell so well in a business that they become the biggest sources of income. With this tip, I invite you to improve in what you do best.
For example, if you sell donuts in your coffee shop and they sell very, very well, better adapt the space of your bakery, pastry shop, or kitchen to prepare more donuts, more efficiently.
3. Consult with your clients
This tip is vital for new coffee shops. It is important to take into account the opinion of your customers.
You can check with them what their favorite desserts are using simple surveys, whether through social media or in person.
This will help you include in your menu everything that your customers want to eat at a coffee shop.
If you apply these 3 simple tips, your coffee shop will march towards success at a steady pace. That, of course, if you manage it well!
Coffee Shop Desserts Are Sweetly Necessary
There are no coffee shops in the world that don't sell desserts, light breakfast meals, or both.
That's why you just can't break that norm — it's what people expect before they even go into your business.
These simple desserts will help you increase, improve, or create from scratch a dessert menu to sell in your coffee shop.
Of course, you will have to make some changes, improve the recipes, and improve the way you prepare them to maximize the benefits they will bring to your business.
Do you know what coffee shop desserts you’ll add to your menu?
![Best selling desserts for coffee shops [Recipes and tips]](https://www.imagelato.com/images/article-cover-best-selling-desserts-for-coffee-shops-f466c395-1024w.jpg)
